


Languages

The Languages page is where you manage the languages available on your platform. These are the languages you can assign to audio prompts and resource accounts, allowing the correct audio to be played based on the caller's language. You can find this page in the left-hand menu.
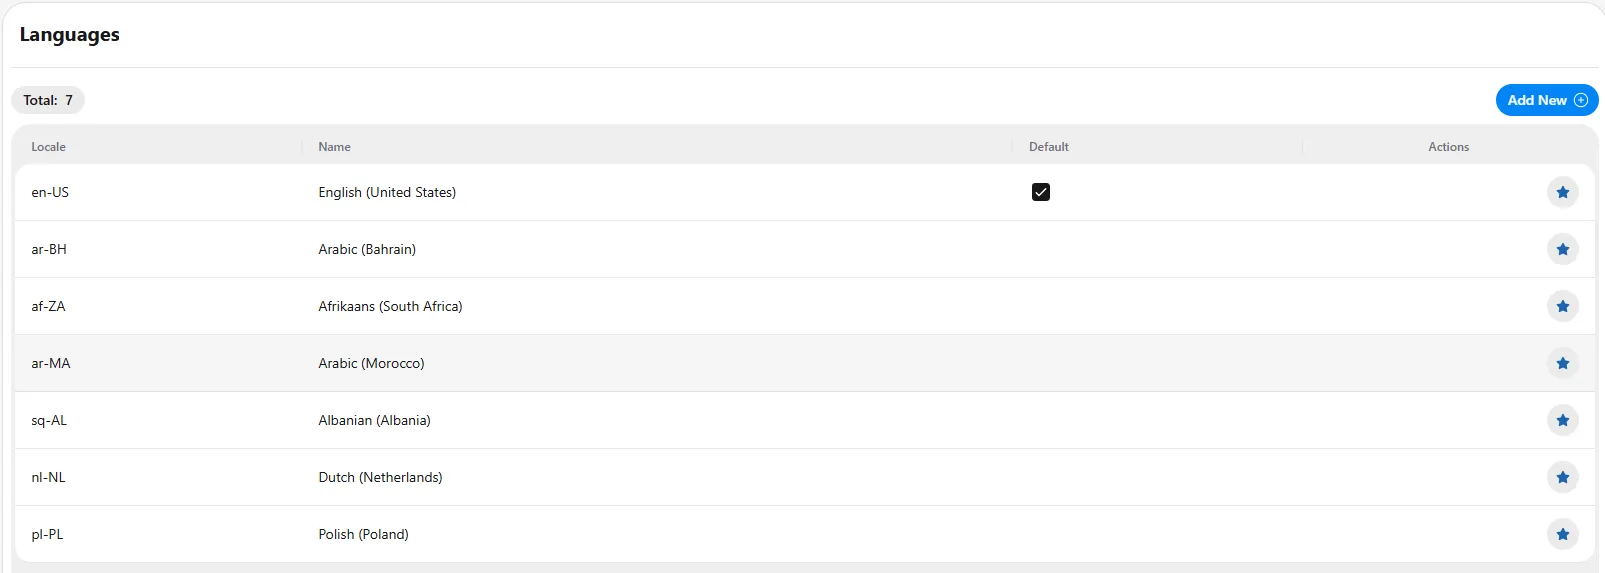
Understanding the page
The counter at the top shows the total number of languages currently configured. Each language is listed in a table with the following columns:
- Locale – The locale code for the language (for example, en-US, nl-NL).
- Name – The full name of the language and region (for example, English (United States), Dutch (Netherlands)).
- Default – Indicates the default language for the platform. A checkmark marks the language currently set as the default.
- Actions – The controls for managing each language.
Working with languages
To add a new language, click the Add New button in the top-right corner.
To set a language as the default, click the star icon in the Actions column for that row. The default language is used as the standard language across the platform where no other language is specified.
Adding a New Language
The Add new language dialog lets you add a language to the platform. Click Add New on the Languages page to open this dialog, then complete the fields below.
- Language – Click the Language dropdown and select the language you want to add. The list shows all available languages, each with its region (for example, English (United States), Dutch (Netherlands)). Languages shown in gray are already configured on the platform and cannot be selected again.
- Set as Default – Optionally, enable the Set as Default toggle to make this language the platform's default language. The default language is used as the standard language across the platform where no other language is specified.
When you have made your selection, click Save in the bottom-right corner to add the language.